Showing posts with label mixed media. Show all posts

Wednesday, January 24, 2018

Friendship Book


This friendship book is something that I have needed for a long time but didn't know it. It will be a place that will keep the many treasured tags, ATCs, notes, index cards, words of encouragement collected from, you guessed it, friends. Like an autograph book for the internet age. 

This project has come together by accident. Can't deny it. So I'll let you in on how it came to be. 


It started with this idea that I would make some Moravian Stars from stenciled paper for my post in December. ( I used the Decorative 6-petal screen stencil.) Sounded good to me, but I hit some technical difficulties - The paper I stenciled upon was not the right weight and consistency for paper folding...in fact, it ripped quite often. Meanwhile another idea was brewing. The idea was released.

Still, I had all of these lovely strips of paper covered with stenciling. A good housekeeper would have thrown them out. Perhaps I should have. Just to keep those hoarding tendencies at bay. But I didn't. 


I played with them. They sat on my desk for a few weeks. I curled some with the blade of a pair of scissors. That was fun (and I did eventually discard those pieces). I wove them. Well, that was mega fun. Trying to decide which strips should go next to each other was just the sort of thing I love. 


But that wasn't enough. There was this translucent paper stenciled with the Ornamental Petals Screen Stencil. After tucking the ends under and feeding them through loops in the back, the translucent paper went over the top. 


This Dresden Trim Medallion from Gwen's Small Medallions matched the pattern so well. It was cut into elements that were affixed to the middle and the four corners. 


Glass beads were sewn around the edge to secure all the papers and then along the edge of the stenciled area to enhance the design. 


I loved the piece. It stayed on the bulletin board waiting for an opportunity. 

Meanwhile, the Artist Tribe sisters were all talking about embossing powder. I had never used it. By chance, I inherited a selection of said items from my sister for Christmas. An old gelli plate print from several years ago was the substrate for my first foray in embossing. Wow! That stuff is amazing. (I used Gwen's Decorative Folk Flower Stencil 4 X 4). So that hung on the bulletin board next to the woven piece. 


Christmas also brought cheer in the form of a gift of a handmade book made by Gwen. It is absolutely beautiful. The cover was plain brown board, which it must be said looked amazing as is. However, it was also an invitation for embellishment. And embellishment it got. 


For the front cover:


1. A piece of sari fabric scrap from the Irresistible India - Embellished Sari Scraps was perfect for the cover. Cut a little larger than the cover, it adhered with gel medium, the edges flipped over and smoothed on the inside. 


2. The Mirrored Gold Embellished Trim adhered to the left side. The woven paper piece was attached to the middle. 
3. Flipping it to the inside, the fabric edges were cleaned up and covered with two types of Dresden Trim. 


Back cover:

1. The remaining scrap was not large enough to simply paste and go. It was cut into strips and adhered to the edges.


2.  The gelli print embossed with Decorative Folk Flower Stencil 4 X 4 paper was added. 
3. The Mirrored Gold Embellished Trim adhered to the right side with gel medium.
4. A piece of Dresden Small Medallions was chosen for the way it reflected the stencil design. 
5. Gold Liquid Pearls (Ranger) were used to embellish both the Dresden and around the paper. 
6. Silver glitter letters were added to read "Friendship Book." 
7. A piece of washi tape was added to the left side for interest.
8. Inside the cover, the washi tape and two types of Dresden trim to finish the edges. 


Spine:

A piece of Sari Yarn (Twisted Sister variety) was added to the spine. The color was chosen to complement the colors in the weaving. 

The jury is out on whether there will be more dangling elements hanging from the spine.  

Now that I have made the Friendship Book, the fun begins! Here's to filling up those pages. 

Wednesday, January 10, 2018

The Wheel of Karma Drop Spindle


Many of my projects start as ideas for one project and end up an entirely different object in the end. This project has flown far from the concept. 

It all started because I was cleaning, well clearing, at the end of the year. I came upon a great stash of CDs that had really served their purpose. Many of them held the projects I did when I was earning my Master of Library Science more than 10 years ago. In looking for something in another room I found the printable CD stickers in their original box. Thus came the original idea - I would print on them and then crochet them into a bag. The first part went well, but the crotchet obscured the design, so I abandoned that project. At least for now. 

So what can you do with beautiful, boho CDs? Let me tell you, I have had plenty of ideas. The Wheel of Karma Drop Spindle just wouldn't leave my mind so here you have it. The spindle spins like that wheel of karma, swinging one way and then the other. Using this spindle is a great reminder of what goes around, comes around. 


What, you say? I don't spin. You can use this as a decoration to spin in the breeze in front of your window or on the porch. Really the choice is yours. 

On to the making:

First I prepared the sticker sheets. You could lay down a background color and add stencil over stencil, but I opted to use my gelli plate. Roll out the color on the gelli plate, press the stencil onto it and lift off. Then lay the sticker sheet on top. By rotating printing on 4 or 5 sheets repeatedly they came out with a lot of variation, but plenty to pull them together. I used two of Gwen's stencils on the whole - The Decorative Medalion Stencil,  Decorative Folk Flower Stencil, 


Here you can see what the sheet looks like having removed the part for the CD. 


This is what a stack of CDs with the printed labels looks. Gorgeous with Gwen's stencils! 


I knew I was going to use some of that Tibet Jewels Sari Yarn I got from Gwen's shop. You can see how well it goes together. 


I had never made a drop spindle from CDs, but knew the convention was to use a dowel and a rubber grommet. Unfortunately, what with weather and life, I couldn't get to the hardware store. I started to think about one of the other projects, but that Wheel of Karma wouldn't leave my mind. 

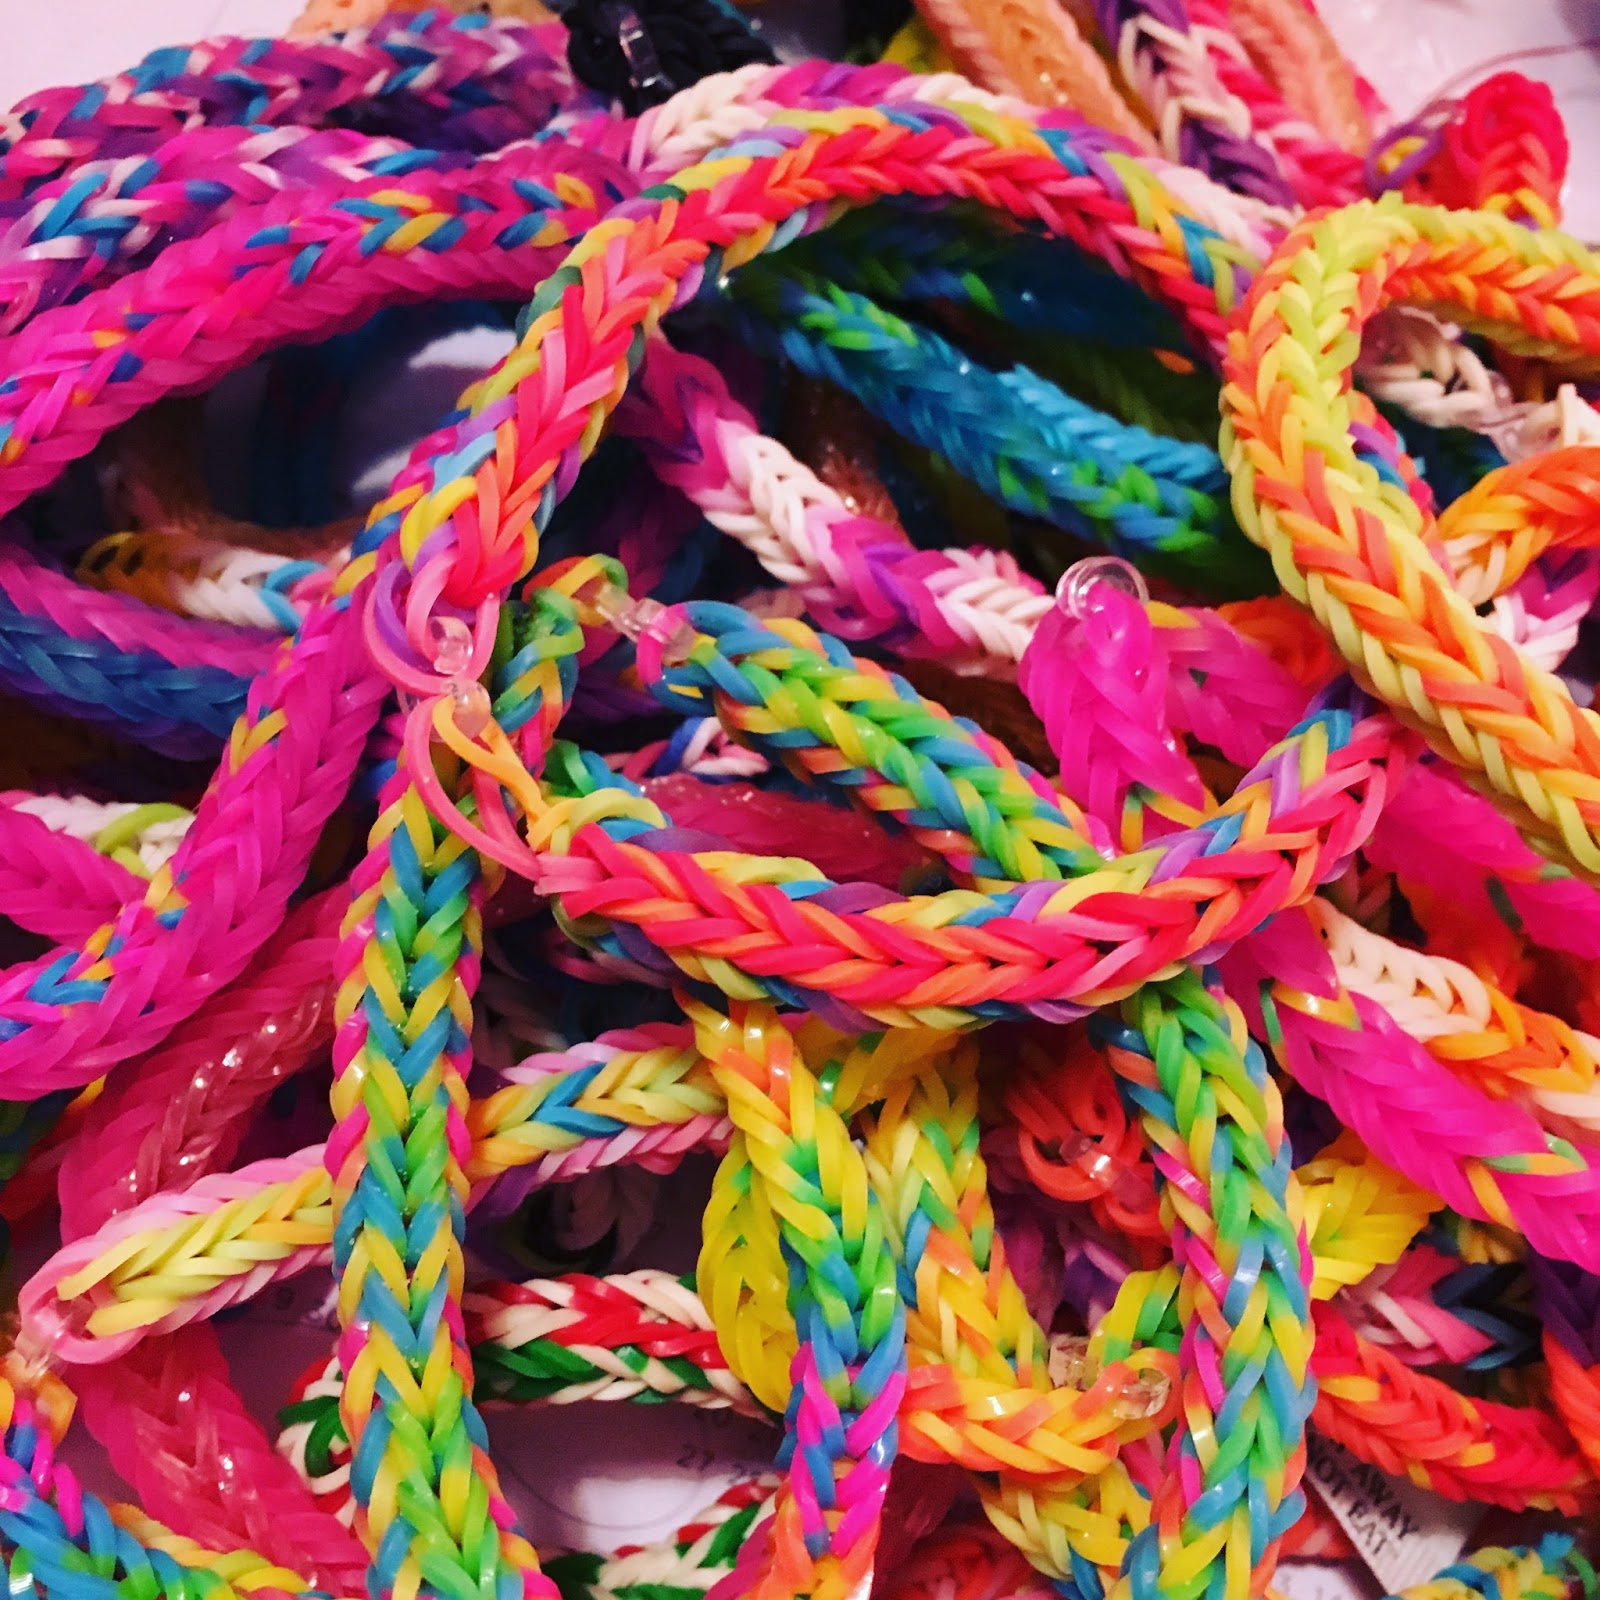
You may have noticed that I like to use what I have. Viola, my daughter was cleaning room (see a pattern? It is a new year after all.) and found a stash of Rainbow Loom bracelets I had overzealously made for her some years ago. I rejected the idea of passing them along because I knew we could make use of them. 


Then I spied it! No dowel in sight, but there was one of those cursed wire hangers! It had a hook and could be bent to my pleasure. 

I cut the hook a bit shorter and used needlenosed pliers to bend the hook into a smaller version. The rest of the hook was made straight and I wrapped the new shape with duct tape down to the loops on the end, which I left about 1 inch exposed. 

Here beads are auditioned on the CD.

The CDs were glued together with hot glue, placed on the shaft and affixed with two Rainbow Loom bracelets - one on the top, one on the bottom. These were then secured with more hot glue. (Don't have Rainbow Loom Bracelets? Rubber bands or hair bands will work.) Randomly colored beads were hot glued around the bands. 


View from the bottom

View from the top

Next I attached Darn Good Yarn's Sari Yarn from Gwen's shop through the loops in the bottom. I used Tibet Jewels and Twisted Sister varieties. I tied the top together with another small piece of the sari yarn. 


View from the top with wool roving

The most fun was attaching Going Global Turmen Jewelry Parts and Kuchi Coin Pendants - No Stone to the ends of the sari yarn. I then sewed strings of beads along with them. I wanted the ribbons to jingle as I spin. So the more I attach, the more beautiful it will sound.


Here's a link to Gwen's shop where you can find these luscious elements. 

If you haven't seen my spinning adventures, I've been having lots of fun taking those little bits and pieces left over from projects, carding them with wool and making art yarn. 


Bits and pieces. Silk scraps, embroidery thread, pieces of paper. 

Some art yarn wrapped on ATC sized cards ready for the recipients to finish. 

My new line of art yarn - A Novel Yarn. This is the Pride and Prejudiced Edition. 

From fleece, to spindle to ball of yarn. You can see my old, trusty spindle. 

What do you think? Would you use it as a drop spindle or a wind chime? 

Saturday, December 2, 2017

Making Holiday Gift Wrapping - Part Two - Holiday Stencils Three Ways


If you have been following me for long you will already know that I am not prone to following the rules. At first, I thought traditionally about using Gwen's Christmas Collection stencils and you can see that I started off by printing out a copy for each of my party guests. (I'd like to mention that they all wanted to use the stencil themselves. It's important to mention we shared nicely, taking turns and saying please and thank you.) When starting to make my own project, however,  I veered off in another direction. 

I quickly realized that the stencil could be used to make the paper reflect any style. It really is that versatile. So I challenged myself to use those two stencils to create three distinct styles. Thinking about the hallmarks of each style and breaking down those elements will help you to use these stencils to get the effect you want. 

For the purposes of this experiment, I went with classic gold and cream, shabby chic and boho bright. I chose to make the papers into triangle origami boxes. You know this is my go-to wrapping style. For each of them, I used paper ripped out of my sketchbook. The paper is cream colored. Each box requires 6 pieces - I made them in 5" and 6" squares. If you have read my origami boxes posts, you will know that I used to work for Japan Publications Trading Company as a copy editor and translator in their craft department. I favor the directions of Tomoko Fuse. You can choose any style of origami box - the more you make them the more you fall in love with them.

Stencils used for all three variations were Gwen's StencilGirl Stencils - Christmas Collection - Christmas and Cardinal and Holly Stencil & Christmas Poinsettia Stencil .


Classic Cream and Gold


materials
Sargent Art - Metalic Marker - Gold

Piece of gold star trim for accent


Apply pattern to the paper by tracing through the stencil with the marker. Fold box in the desired style. Add a gold accent. Viola! Classic gold and cream. 

Shabby Chic


materials
Craft Smart acrylic paint in Sailing Sky, Vanilla and Rosy Posy
Ranger Liquid Pearls - White Opal
Piece of white lace 
paper flower

Honesty time here. I was so focused on making the box that I forgot to take photographs of the paper after I stenciled it. 

Paint the paper with a mixture of the blue and white paints and let dry. Pounce the pink through the stencil. Add liquid pearls to the area of the berries. Let the whole thing dry thoroughly before folding into boxes or the liquid pearls will smear. 

Put the boxes together and get ready to embellish. 

I had a scrap of by-the-yard lace fabric, but you could use lace trim. The lace was cut double wide and folded over to create more puff. Thread the needle and make a double knot. With edges together sew a running stitch along the raw edge. Gather and fan out to make a circular shape. Overlap so that the lace goes twice around. Pull the thread to size and knot. With the shape determined, sew through the layers to secure the spiral. Take the needle through the flower. Cut a piece of lace for the ribbons and cut the ends either at an angle or in an upside down v. Fold in half and bring the needle through the fold to secure to flower. Attach to box by carefully putting the needle through the hole between the pieces (if making a triangle box) or by making a stitch through the paper (if there is no hole.)

Isn't it sweet?

Boho Bright


materials Craft Smart acrylic paint in Plum, Wine, Bright Rose, Bright Magenta, Bright Yellow, and Red.
Dylusions Ink Spray - Tangerine Dream
Ranger Liquid Pearls - Gold Pearl

Irresistible India Mini Woodblock Border Stamps - Paisley 1

Piece of Sari Yarn from Darn Good Yarn - Twisted Sister

Gelli Plate

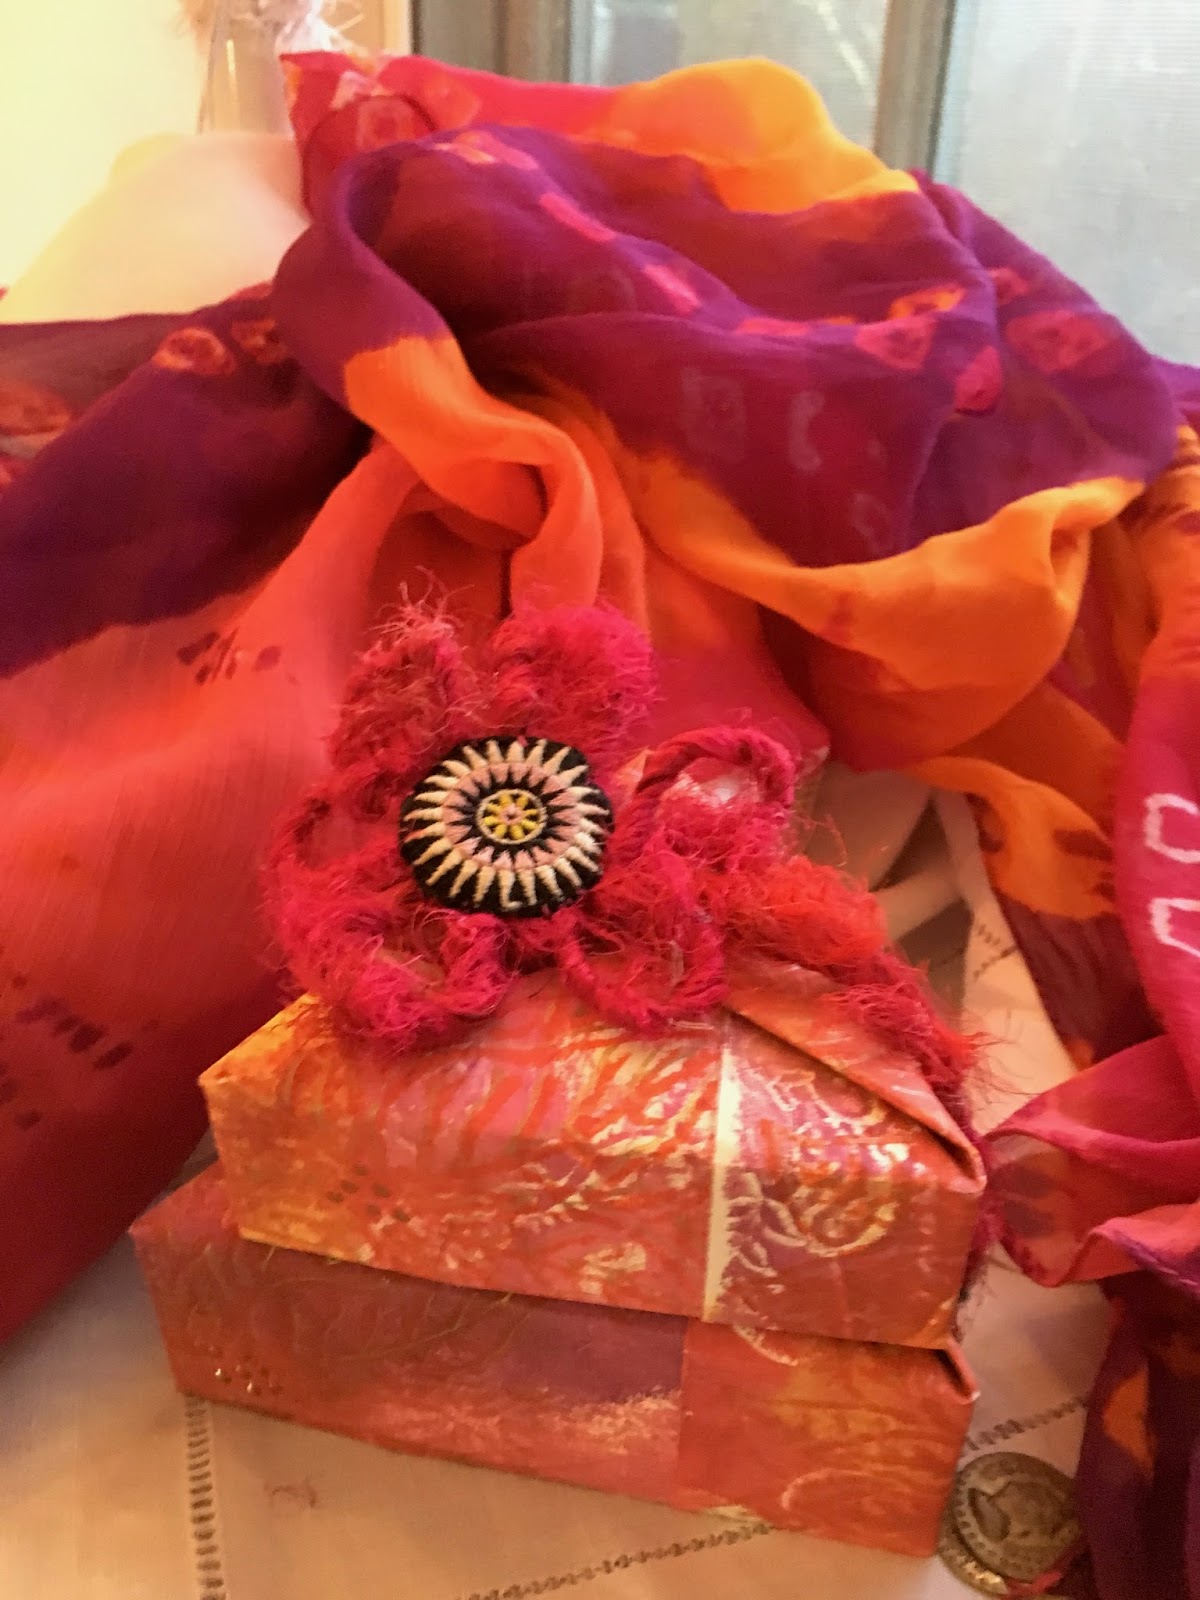
For the Boho version, I wanted a very layered paper. Out came the gelli plate and a bunch of woodblock stamps from Gwen's shop. The scarf you see in the pictures above was the inspiration for the colors. That's when I discovered that I don't have any strong orange paint. Gelli plates make it really easy to remedy that. 


Each paper was printed many times, layering and layering the stamps and the colors. Some layers are hardly visible, but when tseen together it has a very bohemian, well-traveled feel to it.


When content that there were enough layers the stencil was applied using spray ink. Sadly, it bled. Guess I was a bit enthusiastic. This is mixed media, though, so easy enough to fix. A gold gel pen traced through the stencil put all to rights. 

Add the liquid pearls in gold pearl to the berry areas. That really makes it pop. 


Fold the pieces and put the box together. 


Next, I took out the stitching that kept the embroidered star to the lovely velvet backing and liberated the star. 


To make the tie to hold the boxes together I used sari yarn. Take a stitch at the end of the yarn. Wrap the yarn around your thumb to make a loop. Take a stitch through the bottom of the loop and the end of the yarn. Continue to make thumb-sized loops and secure to the middle using a stitch. When the motif is large enough stitch the embroidered star to the yarn. I put a loop on the back to pull the end through. This is then adjustable. It can secure the packages. It can also be used as an accessory. Two gifts in one! 


So there you have it! Three distinct styles using just the two stencils. So many other possibilities await! 

While I didn't use any Dresden or Scrap in this project (I thought I was still in November! How time flies!) it would be so easy to use it here. Use a gold medallion with the classic gold and white, scrap and medallions with the shabby chic and my, oh, my, the Dresden would look great with the boho look! 

Stay tuned, because there will be no holding me back with the Dresden and scrap. Meanwhile, here is a discount code so you can get some supplies in time for holiday projects.