

Many of my projects start as ideas for one project and end up an entirely different object in the end. This project has flown far from the concept.
It all started because I was cleaning, well clearing, at the end of the year. I came upon a great stash of CDs that had really served their purpose. Many of them held the projects I did when I was earning my Master of Library Science more than 10 years ago. In looking for something in another room I found the printable CD stickers in their original box. Thus came the original idea - I would print on them and then crochet them into a bag. The first part went well, but the crotchet obscured the design, so I abandoned that project. At least for now.
So what can you do with beautiful, boho CDs? Let me tell you, I have had plenty of ideas. The Wheel of Karma Drop Spindle just wouldn't leave my mind so here you have it. The spindle spins like that wheel of karma, swinging one way and then the other. Using this spindle is a great reminder of what goes around, comes around.
What, you say? I don't spin. You can use this as a decoration to spin in the breeze in front of your window or on the porch. Really the choice is yours.
On to the making:
First I prepared the sticker sheets. You could lay down a background color and add stencil over stencil, but I opted to use my gelli plate. Roll out the color on the gelli plate, press the stencil onto it and lift off. Then lay the sticker sheet on top. By rotating printing on 4 or 5 sheets repeatedly they came out with a lot of variation, but plenty to pull them together. I used two of Gwen's stencils on the whole - The Decorative Medalion Stencil, Decorative Folk Flower Stencil,

Here you can see what the sheet looks like having removed the part for the CD.

This is what a stack of CDs with the printed labels looks. Gorgeous with Gwen's stencils!


I knew I was going to use some of that Tibet Jewels Sari Yarn I got from Gwen's shop. You can see how well it goes together.

I had never made a drop spindle from CDs, but knew the convention was to use a dowel and a rubber grommet. Unfortunately, what with weather and life, I couldn't get to the hardware store. I started to think about one of the other projects, but that Wheel of Karma wouldn't leave my mind.
You may have noticed that I like to use what I have. Viola, my daughter was cleaning room (see a pattern? It is a new year after all.) and found a stash of Rainbow Loom bracelets I had overzealously made for her some years ago. I rejected the idea of passing them along because I knew we could make use of them.
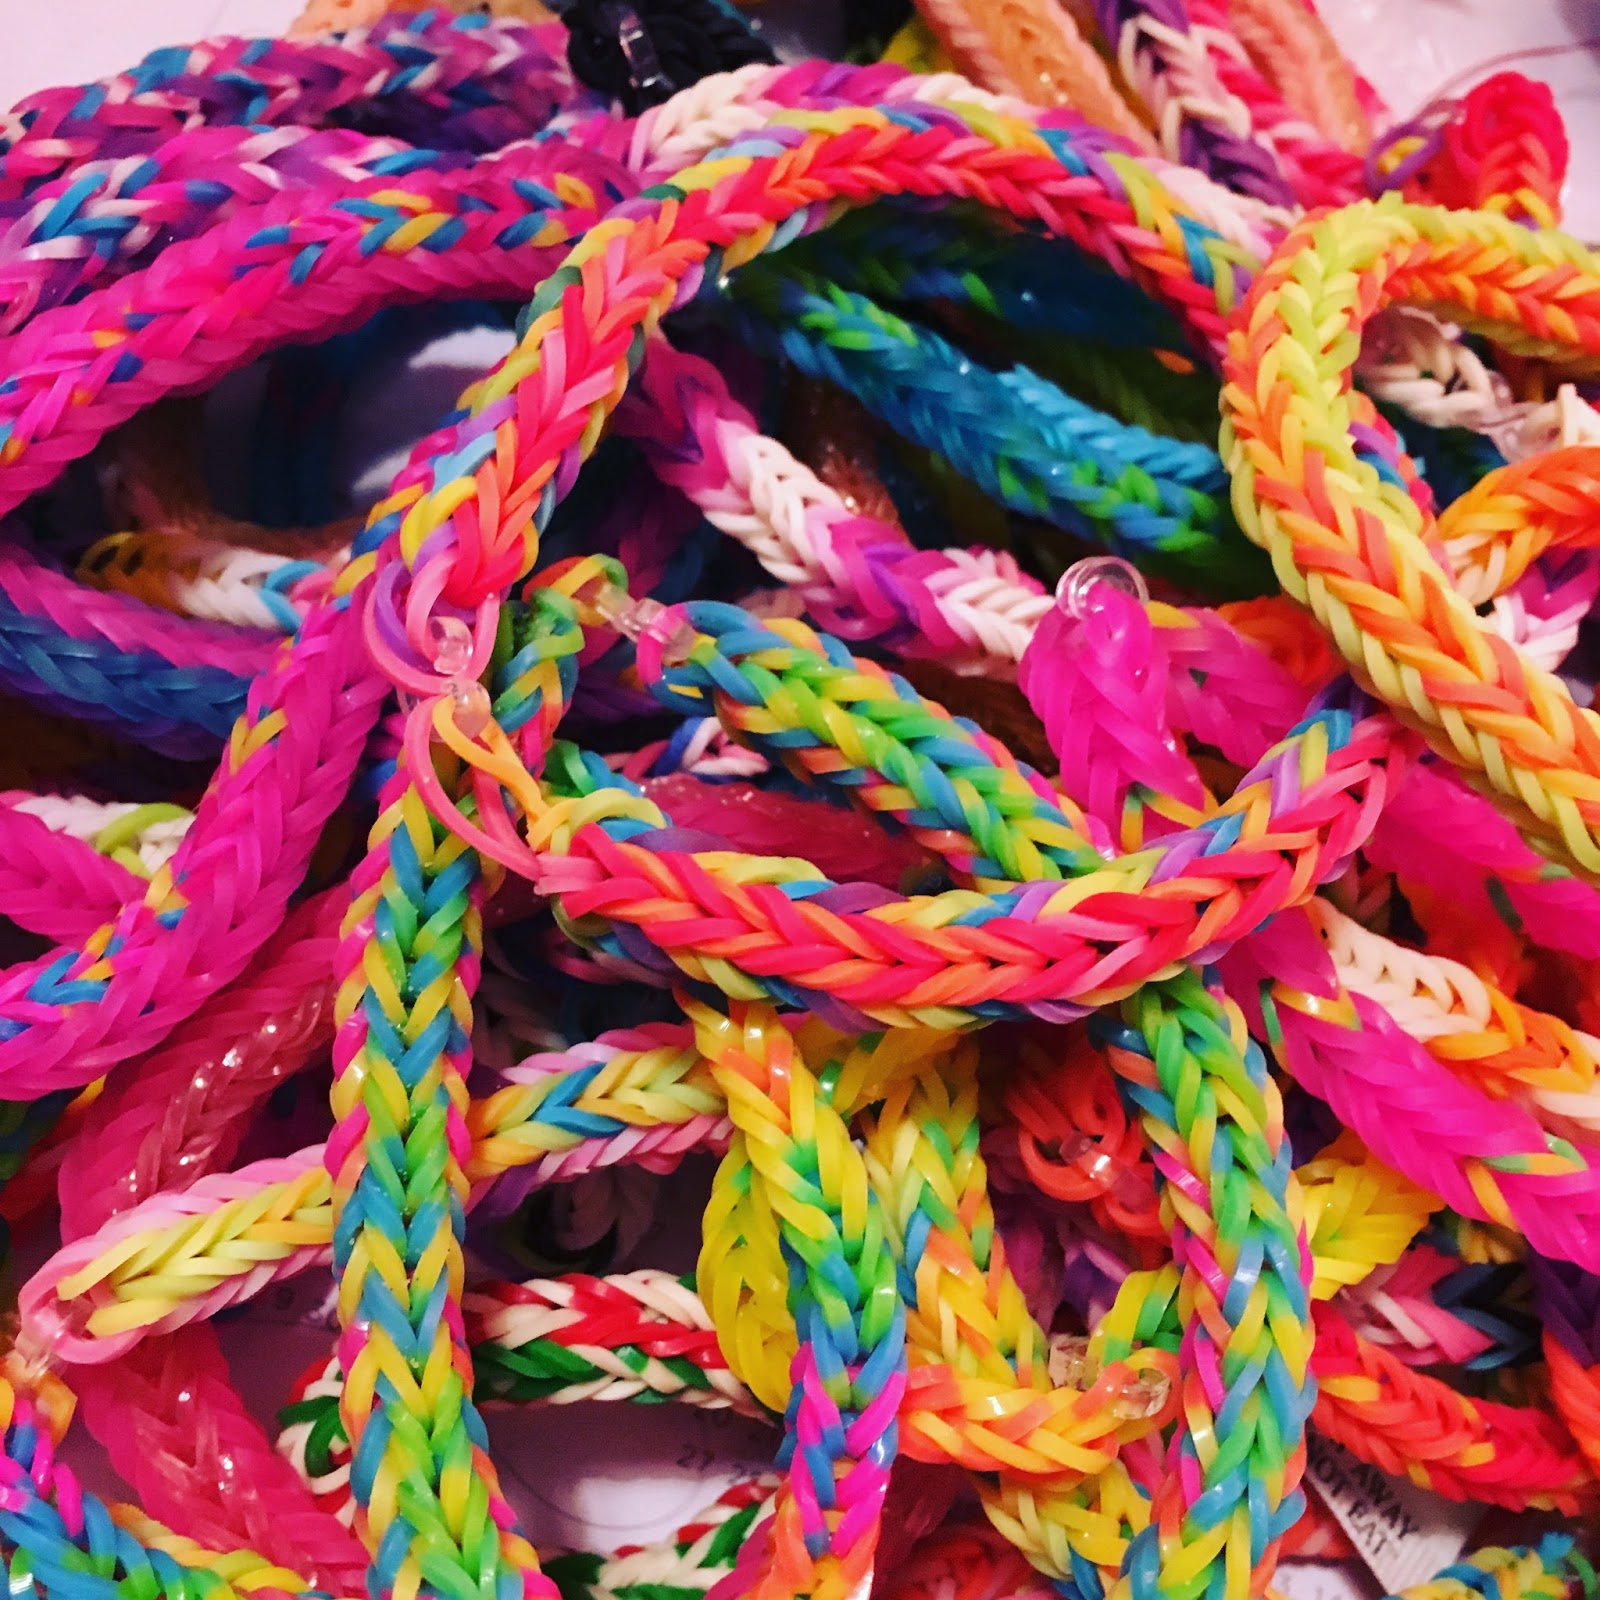
Then I spied it! No dowel in sight, but there was one of those cursed wire hangers! It had a hook and could be bent to my pleasure.
I cut the hook a bit shorter and used needlenosed pliers to bend the hook into a smaller version. The rest of the hook was made straight and I wrapped the new shape with duct tape down to the loops on the end, which I left about 1 inch exposed.
 |
| Here beads are auditioned on the CD. |
 |
| View from the bottom |
 |
| View from the top |
Next I attached Darn Good Yarn's Sari Yarn from Gwen's shop through the loops in the bottom. I used Tibet Jewels and Twisted Sister varieties. I tied the top together with another small piece of the sari yarn.


 |
| View from the top with wool roving |
The most fun was attaching Going Global Turmen Jewelry Parts and Kuchi Coin Pendants - No Stone to the ends of the sari yarn. I then sewed strings of beads along with them. I wanted the ribbons to jingle as I spin. So the more I attach, the more beautiful it will sound.

Here's a link to Gwen's shop where you can find these luscious elements.
If you haven't seen my spinning adventures, I've been having lots of fun taking those little bits and pieces left over from projects, carding them with wool and making art yarn.
 |
| Bits and pieces. Silk scraps, embroidery thread, pieces of paper. |
 |
| Some art yarn wrapped on ATC sized cards ready for the recipients to finish. |
 |
| My new line of art yarn - A Novel Yarn. This is the Pride and Prejudiced Edition. |
 |
| From fleece, to spindle to ball of yarn. You can see my old, trusty spindle. |
What do you think? Would you use it as a drop spindle or a wind chime?


