Showing posts with label layers. Show all posts

Wednesday, December 27, 2017

Bohemian Paper Vase


I've been taken with the beautiful paper vases that grace the origami scene for quite some time. While I admire that stark esthetic of rice paper and black or indigo ink, anyone who has been visiting this blog won't be surprised to know that I just couldn't follow the trend. Mine vase was going to be bright, bold and more than a little bit colorful. In fact, the vase would be used to hold some peacock feathers my friend gave me from her friend's peacocks. How could it be anything but bright?

Using Gwen's Decorative Medalion Stencil and a piece of patterned 12" X 12" scrapbook paper, stencil the image four times lining the stencil up with the edges.


Using another color, apply the stencil again in the middle. Add more pattern with an additional color by stenciling just the middle element in empty areas.


Once the paper is dry, fold it into the box shape of your choice. I used directions from a book I purchased in 1996 Kurashi ni Ikasu Kantan Origami 100 - Part 2. Yes, it is in Japanese. Directions for vases are plentiful in other books and on the internet. A quick google search just made my eyes go wide with the variety of options out there. 

Once folded, I chose four medallions from the Dresden Trim - small medallions  to adhere to each side. These medallions are beautiful and come in a variety of shapes. I chose four that had prominent points to keep it looking unified, though unique. The medallions were adhered with hot glue to each side making sure that the hangers were facing downwards. 

(Hint: Cutting the medallions apart and storing them in a small container, like the hard candy tin you can see in the background, makes it easy to use them.)


Some of Dresden borders were applied to the edge of two opposing sides. Liquid Pearls by Ranger were applied to the other two sides and around the medallions for accent. 

To each medallion beads of various colors were attached. The colors were selected from colors to match not only the vessel, but also the peacock feathers which would be arranged within. 


The paper vase is lightweight and easy to tip over, so filling it with some plastic beads gave it more stability. If you wish to add fresh flowers place a cup inside to hold the water. The peacock feathers were added, a bit of raffia tucked into the top and a bow was added. Let me just mention that this ribbon is one that Gwen wraps her packages in. Naturally, I save it to use and it perfectly suited my purpose here. 


Do you love that Dresden trim as much as I do? Gwen is having a sale, but hurry it's only until the end of the month. Here's a coupon code for you to use. 


Saturday, December 16, 2017

Jane Austen's Birthday Blogfest


Happy Birthday, Jane Austen! 

I have been obsessive about Jane Austen's works for some time. If you know me well, you are likely to know this. Though I have neglected to invite people to attend, I have prepared a party, of sorts, in her honor. 

Upon hearing my plan, my daughter offered the loan of her stately, white Christmas tree. Soon it was decided that ornaments reflecting the world of Jane Austen would be the focus of this celebration. One would think to start by creating a list, or making some notes, but that is not how the ornaments were developed. 


Sorting through some materials I have gathered through the years (also read hoarded with the thoughts of clutching them in my hands until my last breath) I found some images that would give me the jump start for these ornaments. Other influences were reference books I have acquired over the years and a wonderful stash of Dresden Trim from Gwen Lafleur's shop. Just see how these elements come together to celebrate the genius of Jane Austen. 


Note: Much discussion has been had by those of use who love Jane Austen (also referred to as Janeites) regarding how to refer to the lady. Referring to that most talented lady by her given name seems crass and presumptuous and saying Miss Austen seems stilted. If it seems repetitive or silly to type her name out in full, consider the delicacy required of such introductions. I am sure you will forgive me. 


The Jane Austen Ornament
Jane Austen, the master of the folly of human nature painted portraits of a country village and it's foibles with a light and humorous touch. 
The ATC was covered with blue paper, musical scrap, and lace scraps. The portrait of Jane was drawn on and embellished with gel pen. A rose of English scrap was added. Dresden Trim was added with hot glue. 

The Naval Set
Two Austen Brothers and Their Ships


The Naval Set - Two of Jane Austen's brothers joined the Navy. Frank Austen who reached the rank Admiral of the Fleet is shown in the ornament on the left. The ornament on the right shows a picture of the Unicorn, a ship that brother Charles Austen spent time on at of the beginning of his naval career. He eventually advanced to the rank of Rear Admiral. If you wish to learn more about these brothers the book Jane Austen's Sailor Brothers (see information below)

Looking upon the Dresden trim I had received from Gwen's shop this month it was remarkable how much the pieces looked like the medals seen in the paintings of the two brothers. Each of them wore two medals, one cross-shaped and the other circular. 

Examining the paintings as much as possible I noticed the way they were hung from ribbons. A velvet ribbon just the shade of blue that had been chosen for this project appeared, seemingly from nowhere. I do not remember ever seeing this ribbon, but there it was on the floor. So it was chosen (though strictly not the correct color for the medal.) Another type of Dresden trim was secured along the bottom edge of the ribbon to echo the look of the metal that held it all together. 

With these elements in hand and a strong vision for what the ornament should reflect, the search for the background paper begun. A blotter paper covered with paint the perfect match of blue was found and cut to pieces the size of the ornaments (ATC size - 2.5 X 3.5 inches) and adhered to the ATC backing, in this case, the cardboard packaging from a flat of soda. 

The portrait of Sir Francis Austen and the painting of the Unicorn were both photocopied from the book Jane Austen's Sailor Brothers: Being the Adventures of Sir Francis Austen, Admiral of the Fleet and Rear-Admiral Charles Austen by John H. Hubback and Edith C. Hubback. 


trimmed and pasted to the ATCs. Hot glue was used for attaching the Dresden trim and the ribbon. 


Cassandra Austen
Beloved Sister and Confidant

Much of what we know about Jane Austen comes from the letters she wrote to her sister, Cassandra. There is much to be said about her, but that is for another time. This Casandra ornament is dressed for a ball, looking toward her sister for approval and to make sure that the younger sister does not make a misstep while out in society. 

For Casandra's ornament, I wanted to add this beautiful blue cording I had in my stash. To secure it to the tag one might have used hot glue. Well, one might have if one had thought of it. My mind turned towards needle and thread. First, a ruler was consulted to make .5 inch marks around the ornament. An awl was employed to pierce the cardboard. 


Then, using a needle and thread, the cording was sewn down. The first attempt was dismal. The stitches pulled at the cording making it unpleasant to see. So, the stitches were taken in the back of the cording in order to preserve the texture of the cord. 

Ah, but I am getting ahead of myself. First the background was attached to the ATC, English scrap and an image from the card set (see below) adhered with gel medium.

The cord was looped around the top into a rosette and secured by sewing it with the needle and thread. 


The ball

There is always a ball, isn't there? If not a ball, an assembly. This is the chief thrill of the young folk in Jane Austen's novels. Seriously. That and talking walks. Maybe carriage rides. 

To make this ornament the card was first prepared by adhering the background paper with gel medium. A white ribbon was added to upper and lower edge. A piece of lace was added but only glued down in the middle to let the edge ruffle a bit. The Dresden Trim was added hot glue. Finally, the dancers were cut from the card and attached with points of hot glue only at the heads. This allows for some movement and depth. Both qualities one wishes for from a dance partner, but are very seldom gratified to find. 


Caroline Bingley and Mrs. Hurst


This image from the card set immediately brought Mr. Bingley's sisters to mind. It would be just like Caroline Bingley to turn her back to us.  

The blue background of this piece is made with Gwen's stencil (see below) attached to the ATC. Layer and English scrap flower bouquet and add the figures cut from the Jane Austen cards. Finish by affixing Dresden Trim with hot glue. Mrs. Hurst has the reputation of having 6 inches of lace at her hem, perhaps a double row of trim is called for. 


Marianne Dashwood

Marrianne Dashwood had reason to dress with care. She hopes to continue her association with that rascal Willoughby. 
Gwen's stencil again is the background for this ornament. Add the piece from the card, the Dresden Trim and a piece of light blue floss to hang it by. Done almost as quickly as Marianne's enjoyment of her stay in London. 


Emma Woodhouse and Harriet

Emma Woodhouse sharing confidences with her protege, Harriett.
Would that she would have held back a little in her encouragement of Harriet's ambitions. 
Add paper covered with Gwen's stencil to the ATC, a small flower of English scrap and the gossiping girls. The ornament is simple but reminds of the complexities of human folly. 


Anne Elliot 

Anne Elliot, mild-mannered and restrained, is not of the same mold as her extravagant father. She is of a deeper nature. 

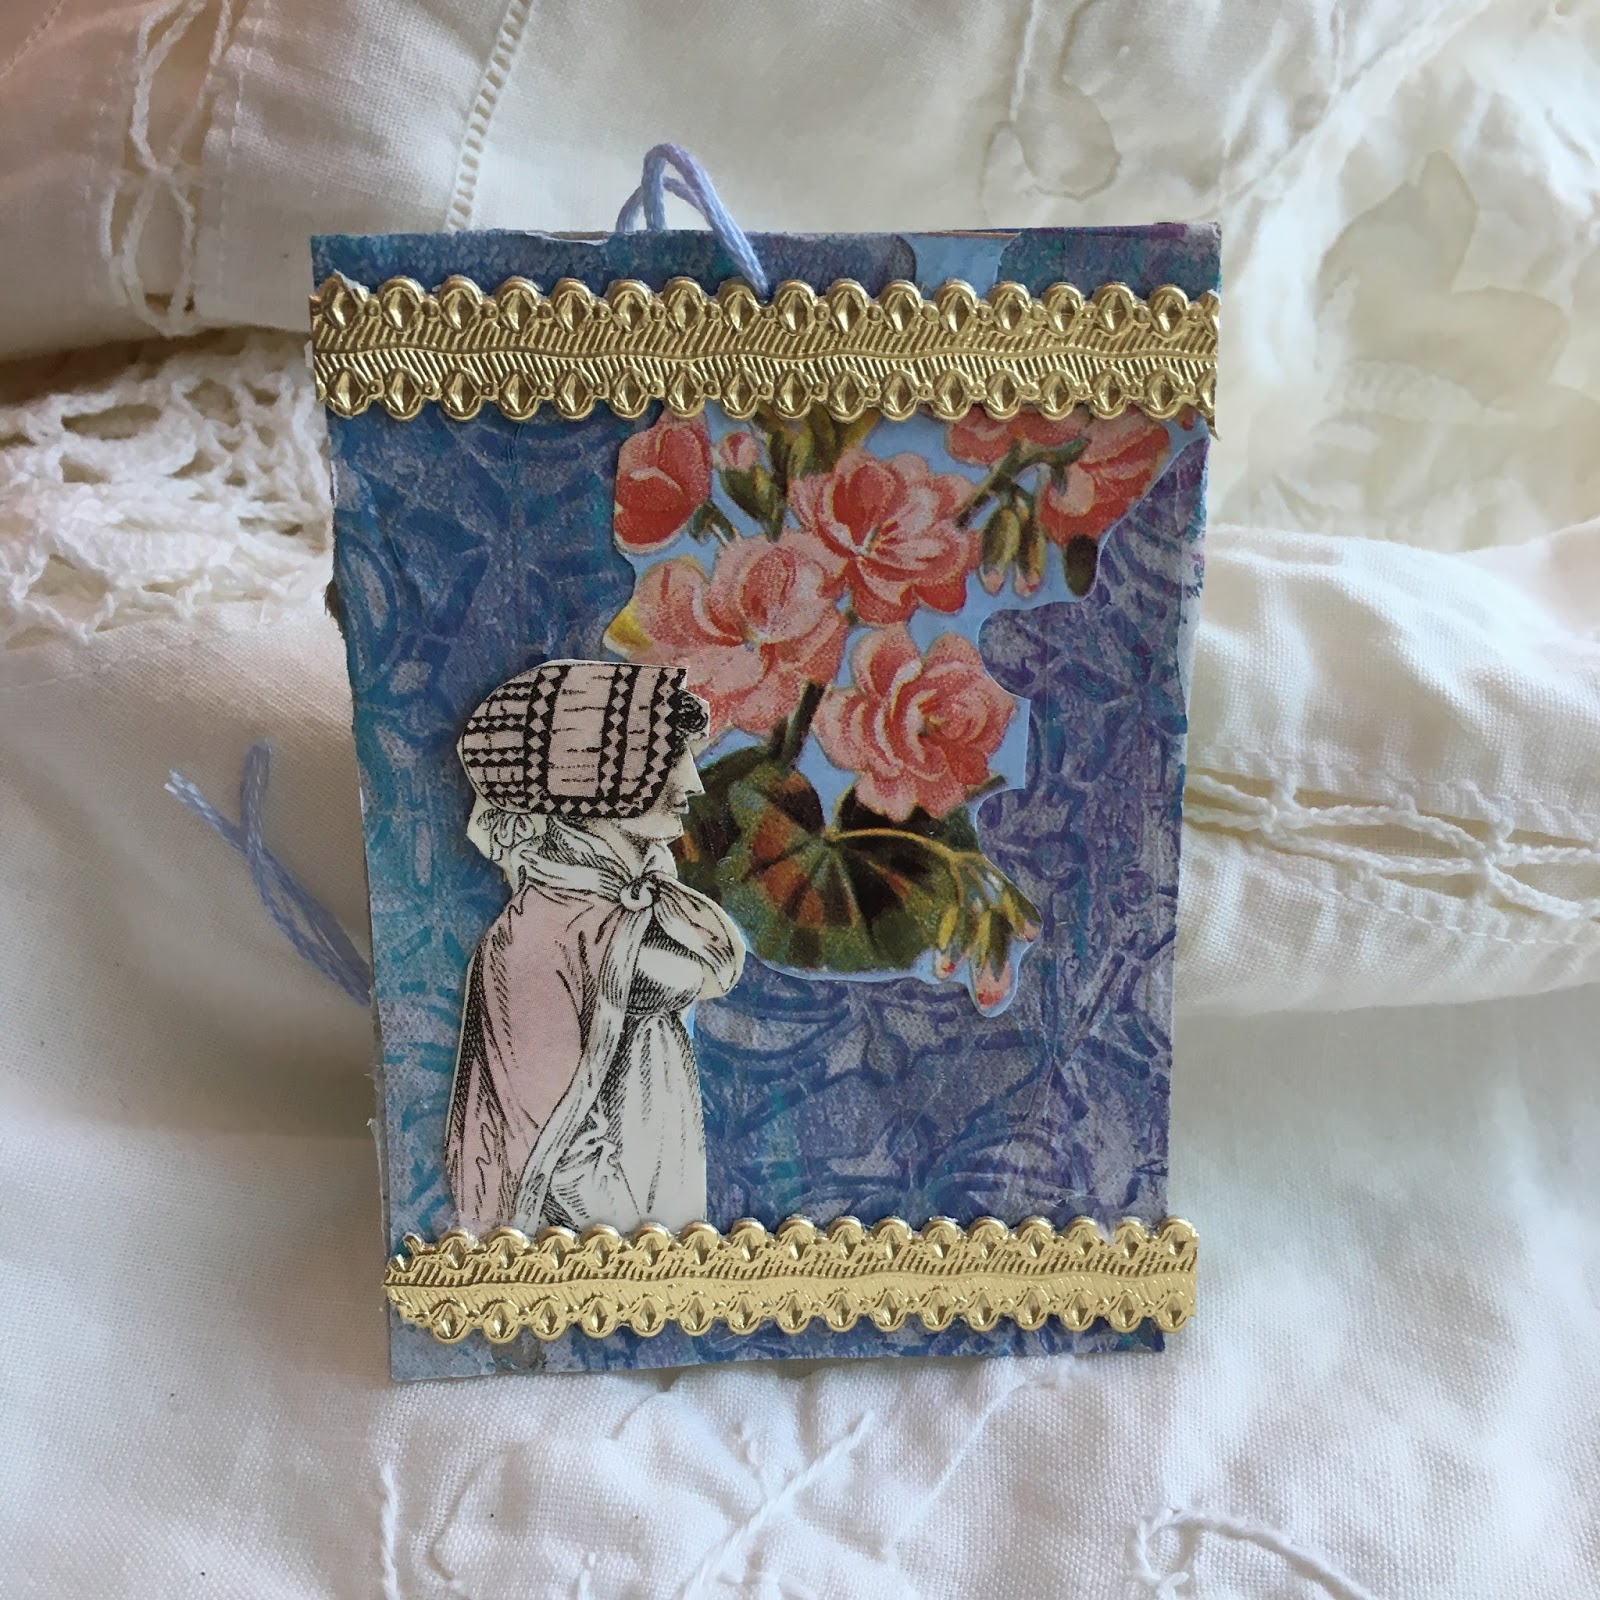
Gwen's stencil is topped with a piece of geranium scrap from the English scrap, layered with an image from the card set and layered with Dresden Trim above and below. Anne is down to earth like the humble geranium but has the worth of gold with her depth of understanding. 


Materials used: 

Gwen's Essentials - German Dresden Trim - Borders Assorted Patterns


Gwen's Essentials - German Dresden Trim - Small Medalions 

Fabulous Florals English Scrap Sheets - Roses and Blossoms

You are in luck. Gwen is having a sale on Dresden and Scrap this month. You won't regret getting your hands on some of this for the new year. 


Gwen's StencilGirl Stencils - Decorative Collection Decorative 6-Petal Flower Screen Stencil (6X6 inches)

All ATC ornaments were made from cardboard from cereal boxes

Under the Tree


I couldn't resist putting some things under the tree. Whether they are a gift for Jane Austen or a gift of Jane Austen is up to you. You will see the book I referenced and the set of cards I took the images from. 

Also, you will see a new product that I am developing for release in the Etsy shop I will open at the beginning of 2018. It is called A Novel Yarn - Art Yarn for the Well Read. This first edition is the Pride and Prejudice Yarn. Handspun wool with bits of silk (undoubtedly from the dresses of the Bingley sisters), pieces of lace (what fine young lady neglects lace on her ball gown) and text cut from a used copy of the book. Soft and fluffy, this two-ply yarn is perfect for art projects like weaving and mixed media, but cannot be used for clothing items as it cannot be washed safely. 

What do you think of A Novel Yarn? What novels/authors would you like to see represented in this line of art yarns? Your thoughts are much valued. 

Happy Birthday, Jane Austen. You continue to inspire. 

References:


Hubback, John H., and Edith C. Hubback. Jane Austen's Sailor Brothers: Being the adventures of Sir 
     Francis Austen, Admiral of the Fleet and Rear-Admiral Charles Austen. New York, Cambridge 

     University Press, 2012. 


Jane Austen Notecards. New York, Random House, 2007. 

Sunday, November 19, 2017

Recycling Silk Threads into New Yarn


I'm wondering if this should be the first in a series of posts about how I recycle things most people would throw away. I mean, you probably would. Me? I just can't let go of certain kinds of materials. 

Point in case - these silk threads. 


I have been saving them for years. At first, I saved them because I was making paper. These threads added to paper pulp make an extraordinary paper. Simply lovely. So I had a little, zippered lunch bag that I saved them in. Now, these threads are the ones that fray off a piece of silk. Silk, that wonderous fabric! How could I let such fiber and color go? And, let's face it, silk frays around the edges like a grad school hopeful that needs those 5 more points on the GREs. There's plenty of this kind of fray if one works with silk. 

So a kind of synchronicity of events lead to the discovery of my wool carders, the silk, an old ball of yarn I spun years ago from natural wool and a wandering mind. It culminated with the box the carders was in fell off a pile, onto the floor and cracked open before my eyes. If that wasn't a sign that I should try them out again, I don't know what is. (So let it be known that I will accept any excuse to spend my time creating. I can tell quite a story, too.)

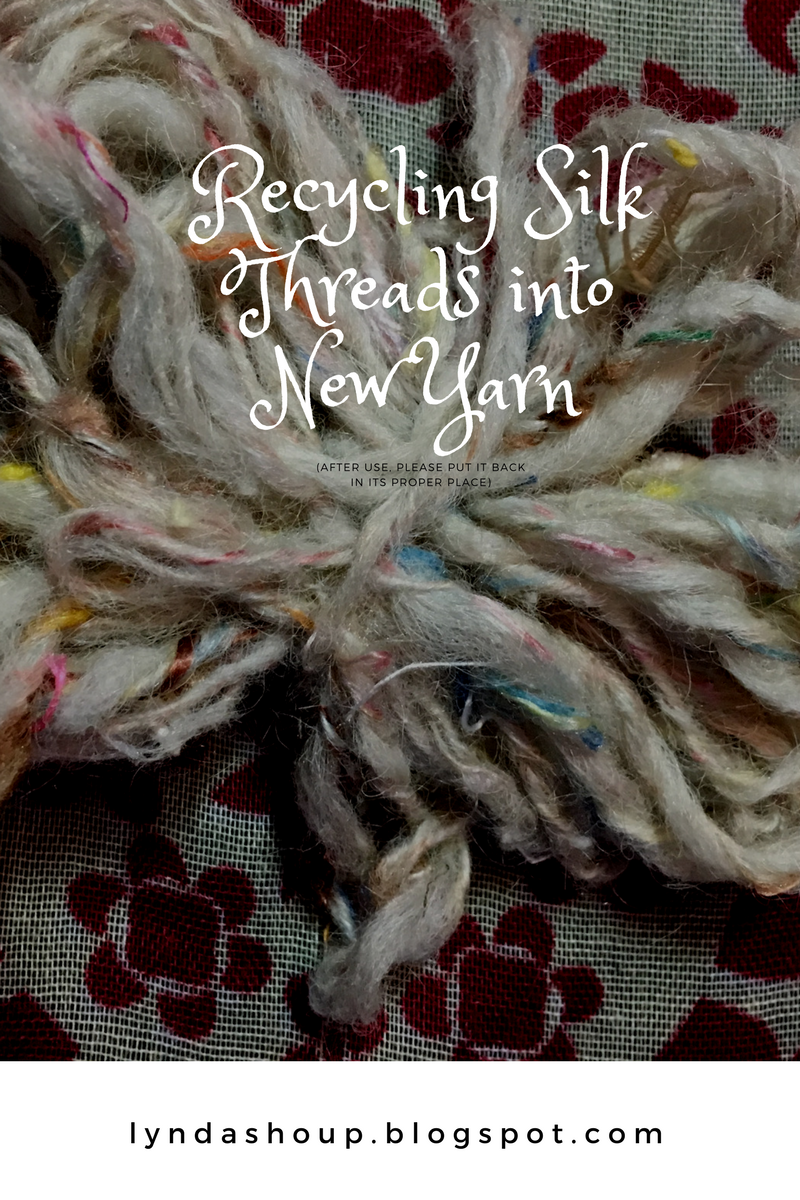
So here's how that beautiful silk looks when combed out. I added wool, and lots of it, so that there would be something to bind it together. I found that the parts where the silk ratio was too high, the whole thing fell apart. You have to have enough wool to hold it together. 


Here's the drop spindle I used to spin the yarn. I made the bottom out of fimo more than ten years ago. The dragonfly pattern in it was created by referencing a book about making colorful rolled sushi. Haven't touched this in years either, but worked like a charm. 


And here is the finished product. There is not much of it...yet. 


What I have found out is that it is possible. It works and this is something I can incorporate into my work. 


I didn't really have to spin it. I could have carded it and then used it for felting. Perhaps an easier way to make use of the materials. My mind doesn't rest. What about spinning scraps of paper into the yarn? Especially some of that beautiful stuff I get from Gwen Lafleur. I can never bear to throw away even a scrap of that stuff. 

So what say you? Does this sound like something you would do? Are you shaking your head and thinking I had better just go buy some new yarn? Like recycling? Would you like to see more articles like this? 

Wednesday, November 15, 2017

Reversible Boho Necklace - for the Artist Tribe


A reversible boho necklace to wear with more things than you would at first imagine. I've always wanted a statement piece like this one. What a surprise to me that it was easy and well within my reach to make myself. 


I know you can make one too. If you do, send me a note to let me know where you are sharing it so I can check you out. 


I knew before I started to assemble this necklace that I wanted a variety of paper with the images of Gwen's stencils. I print on reclaimed paper from gifts, packing and shopping. Most of this batch was printed on pharmacy bag paper.

I could have prepared them in a variety of ways - using a spray ink, pouncing paint upon the stencil or using artist marker. I chose the inexact and very flowy look of gelli plate printing. I simply love the process. So much loveliness to work with.


As you can see, I only use a tiny bit of it, so I have plenty left for other projects!!! 

Making the tag

These are the products needed to make the tag: 


The wooden tag - I purchased mine at Michael's.
A piece of gelli printed paper for each side. Using a separate print for each side makes it reversible. 
A piece of mirrored trim from Gwen's shop. 
A handprinted sliver of mulberry paper saved from other projects. This came in one of Gwen's paper packages. 
Gel medium to adhere the pieces.
Ranger liquid pearls - dimensional pearlescent paint -Orchid and Gold Pearl

Pink Side


1. Adhere the gelli print to the tag with gel medium.
2. Adhere the sliver of mulberry paper with gel medium.
3. Adhere the trim with gel medium.
4. Flip and do the other side. 
5. Coat the sides with the liquid pearls. Coat 3/4 of the way around. Let dry. Turn and coat the rest of the edge.

Turquoise Side


1. Adhere turquoise and white stenciled paper. 
2. Cut a piece of trim two flourishes long. Trim off the bottom section for this piece and put the flourishes aside for later. 
3. Using Ranger's Liquid Pearls add embellishment to the tag. 


Wooden Wheel Beads

I found these wooden wheels in a box I had filled fifteen years ago. Immediately using them in a necklace seemed imperative. I chose some of the gelli printed paper that used
Gwen's Ornamental Screen stencil. 

After priming them with gesso, they were painted with aqua acrylic paint. The stencils were trimmed to fit the wooden wheels. 


Adhere with gel medium. Cover with a layer of gel medium. Love these colors together.


The beads were flipped over and the glue gun was heated up. Sari yarn was glued to the indentation in the wheels.


They still looked a bit bare, so dots of Ranger Liquid Pearls were added.


Sari Yarn Wrapped Beads

1. Cover wooden bead with gesso and then paint the desired color. 


2. Thread a needle with like-colored thread. Take a stitch at the end of the sari yarn. Pull the needle through the bead


3. Pull sari yarn up to the opening and stitch through. Pull the needle back down through the hole. 


4. Pull the sari yarn back down to the bottom and take a stitch through. Continue this process until the bead is covered with sari thread. Leaving some space for the color to peek through adds vivacity. When the bead is covered to your liking take several stitches through the end of the sari yarn and trim. 


Eventually, you will use a jewelry wire to thread through the bead to attach to the chain. 


Spool beads


1. Cover spool with gesso. (Optional)
2. Cut the paper the width of the spool. 
3. Adhere paper to spool with gel medium. 
4. Add one flourish from the trim (left from a previous step) to each spool to cover the seam. 
5. Add embellishment using Ranger's Liquid Pearls - Gold  Pearl. 


Putting it all together


An old piece of sari fabric was the perfect color, so that became the hanger for the tag. A piece of sari yarn was used as the back of the neck.  The rest of the components were put together with traditional jewelry materials including some chunky chain pieces that had been looking for a purpose for many years. 


Materials used to make the necklace:
Gwen Lafleur Studios


Papers from Themed Collage Embellishment 

Gelli Arts
Gelli Printing Plate

Ranger
Ranger liquid pearls - dimensional pearlescent paint -Orchid and Gold Pearl

Golden
Regular Gel (Matte)

Hot Glue

Odds and ends from my stash (I'm so curious to hear what you find in your stash to use on a project like this!)


Credits:

Hair and makeup and portraits by the lovely Madeleine Ooka. You can find her blog, Because We Fall in Life at www.becausewefallinlife.blogspot.com and on instagram @becausewefall

All other photos by Lynda Shoup